

What many homeowners don’t realize is that construction dust, volatile organic compounds (VOCs), and hidden debris can remain in a home long after the contractors leave. This is where post-renovation care makes all the difference not just on the surface, but deep inside your home’s air systems.
According to the U.S. Environmental Protection Agency (EPA), indoor air pollutant levels can be 2 to 5 times higher than outdoor levels, and in some situations significantly higher. Renovation projects often increase those levels further due to dust, adhesives, paints, sealants, and building materials.
That’s why post-renovation air quality testing and duct cleaning deserve a place on every renovation checklist.
This guide walks through the essential steps to evaluate indoor air quality, identify hidden contamination, and ensure your HVAC system isn’t circulating renovation debris throughout the property.
Why Air Quality Matters After Renovation
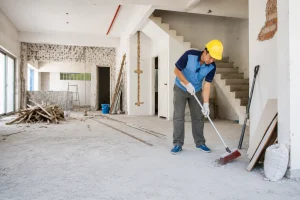
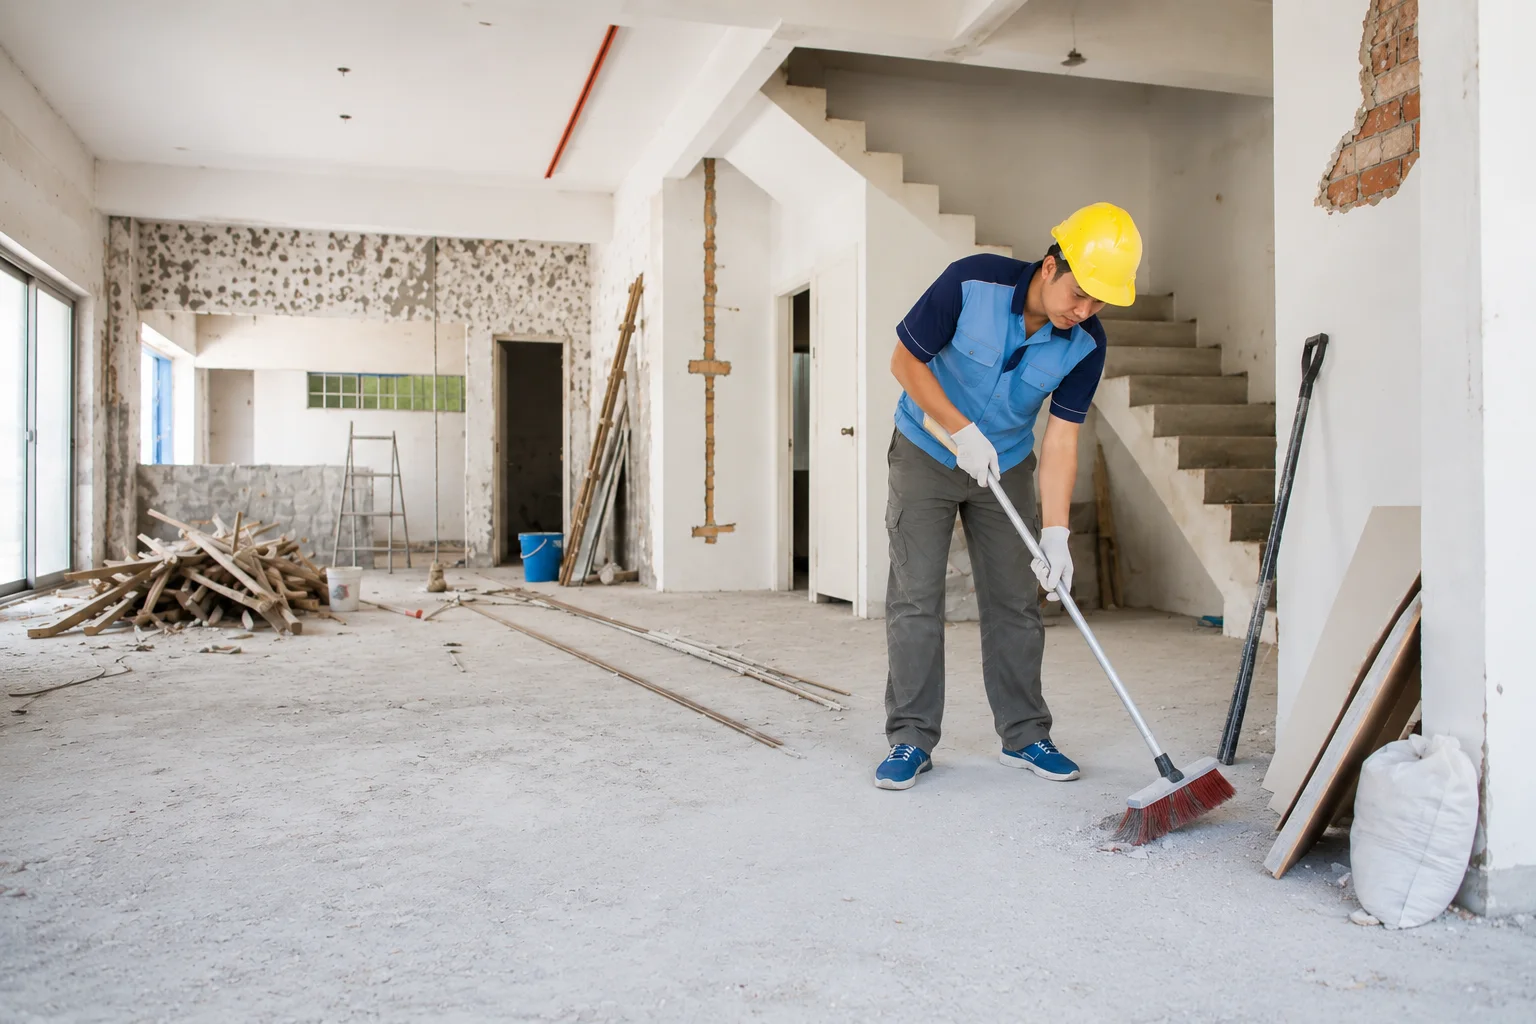
Most renovation projects generate a surprising amount of airborne particles.
Cutting drywall, wood removing flooring, drilling concrete and applying finishes all make a lot of dust and particles in the air. When contractors use special barriers and cleaning equipment tiny particles can still get into vents, ducts and areas that are hard to clean. They can be really small. Get into places that are tough to reach.
Research published by the EPA shows that indoor concentrations of some pollutants may increase substantially during and after remodeling activities. Fine particles can remain suspended in the air for hours or even days.
Common post-renovation contaminants include:
- Drywall dust
- Wood dust
- Silica particles
- Paint fumes
- VOCs
- Adhesive residues
- Fiberglass particles
- Mold spores disturbed during demolition
Signs Your Home May Need Air Quality Testing
Not every renovation requires extensive testing, but several warning signs suggest it’s worth investigating.
Persistent Dust Accumulation
If the surfaces in your home get dusty again soon after you clean them it is possible that your heating, ventilation and air conditioning system is still spreading around the leftover junk.
You wake up in the morning. Wipe down your coffee table. By the evening it is covered in a white layer again. This usually means that dust is still stuck in the ductwork or the ventilation parts of your home.
Lingering Chemical Odors
Fresh paint smells eventually fade.
If the smell of chemical odors remain weeks after the project is finished it is possible that the level of volatile organic compounds are still high. Some of the materials that were used to build things can keep releasing these things into the air for a very long time.
Increased Allergy Symptoms
Frequent sneezing, itchy eyes, coughing, or throat irritation can indicate poor indoor air quality.
The Asthma and Allergy Foundation of America says that a lot more people in America than 100 million Americans get allergies every year. They think that indoor contaminants are a common trigger for people who get allergies.
Reduced HVAC Performance
Blocked vents and dust-filled ducts can affect airflow.
The U.S. Department of Energy says that heating, ventilation and air conditioning systems use 40 percent to 50 percent of the energy in many homes. When airflow is blocked HVAC systems have to work more which makes them less efficient.
Post-Renovation Air Quality Testing Checklist
A structured inspection helps identify hidden issues before they become ongoing problems.
1. Conduct a Visual Dust Assessment
Start with a room-by-room inspection.
Check:
- Window sills
- Ceiling fan blades
- Air registers
- Furniture surfaces
- Baseboards
- Light fixtures
Heavy dust accumulation shortly after cleaning may indicate airborne particles are still circulating.
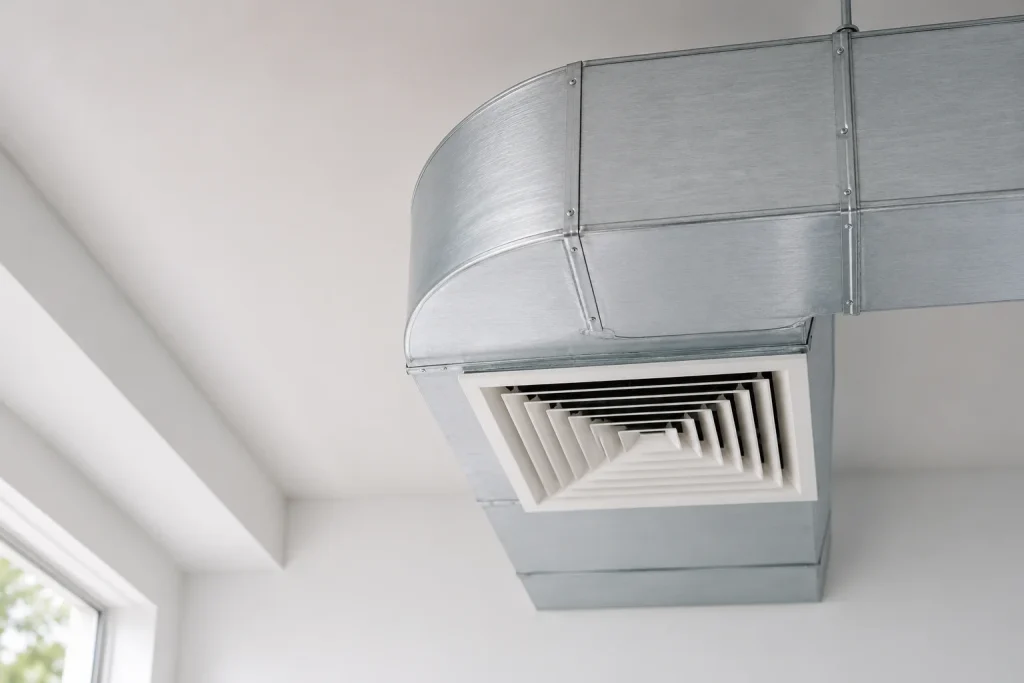
2. Inspect HVAC Vents and Registers
Remove vent covers and look inside with a flashlight.
Signs of concern include:
- Visible construction dust
- Drywall debris
- Wood shavings
- Excess dirt buildup
Even a small renovation can introduce significant debris into ventilation systems.
3. Measure Particulate Matter Levels
Professional air quality testing often evaluates particulate matter (PM).
The most common measurements include:
- PM10
- PM2.5
- Ultrafine particles
PM2.5 particles are particularly concerning because they are small enough to enter the lungs and bloodstream.
The World Health Organization identifies fine particulate matter as a significant indoor and outdoor air quality concern due to its health impacts.
4. Test for Volatile Organic Compounds (VOCs)
Many renovation materials release VOCs.
Sources include:
- Paint
- Flooring adhesives
- Cabinets
- Sealants
- Composite wood products
VOC testing can identify elevated levels that may contribute to headaches, dizziness, or respiratory irritation.
5. Check Humidity Levels
Moisture management is something that people often forget about after they fix up their homes.
When put in drywall, flooring or paint the walls it can make the air inside your house more humid for a little while. A deep cleaning service can help address moisture-related contamination after renovation work.
The humidity inside the house should be between 30 percent and 50 percent..
6. Consider Mold Testing if Water Damage Occurred
If renovation work includes things like plumbing leaks, roof repairs or water getting into the house, think about doing mold testing.
When you mess with stuff, in the building it can send mold spores that were not bothering anyone into the air.
Mold testing can figure out if you need to do work to clean it up.
7. Evaluate Carbon Dioxide and Ventilation Rates
Poor ventilation contributes to stale indoor air.
Air quality professionals may assess:
- Carbon dioxide levels
- Air exchange rates
- Ventilation performance
Proper ventilation helps remove contaminants and improve occupant comfort.
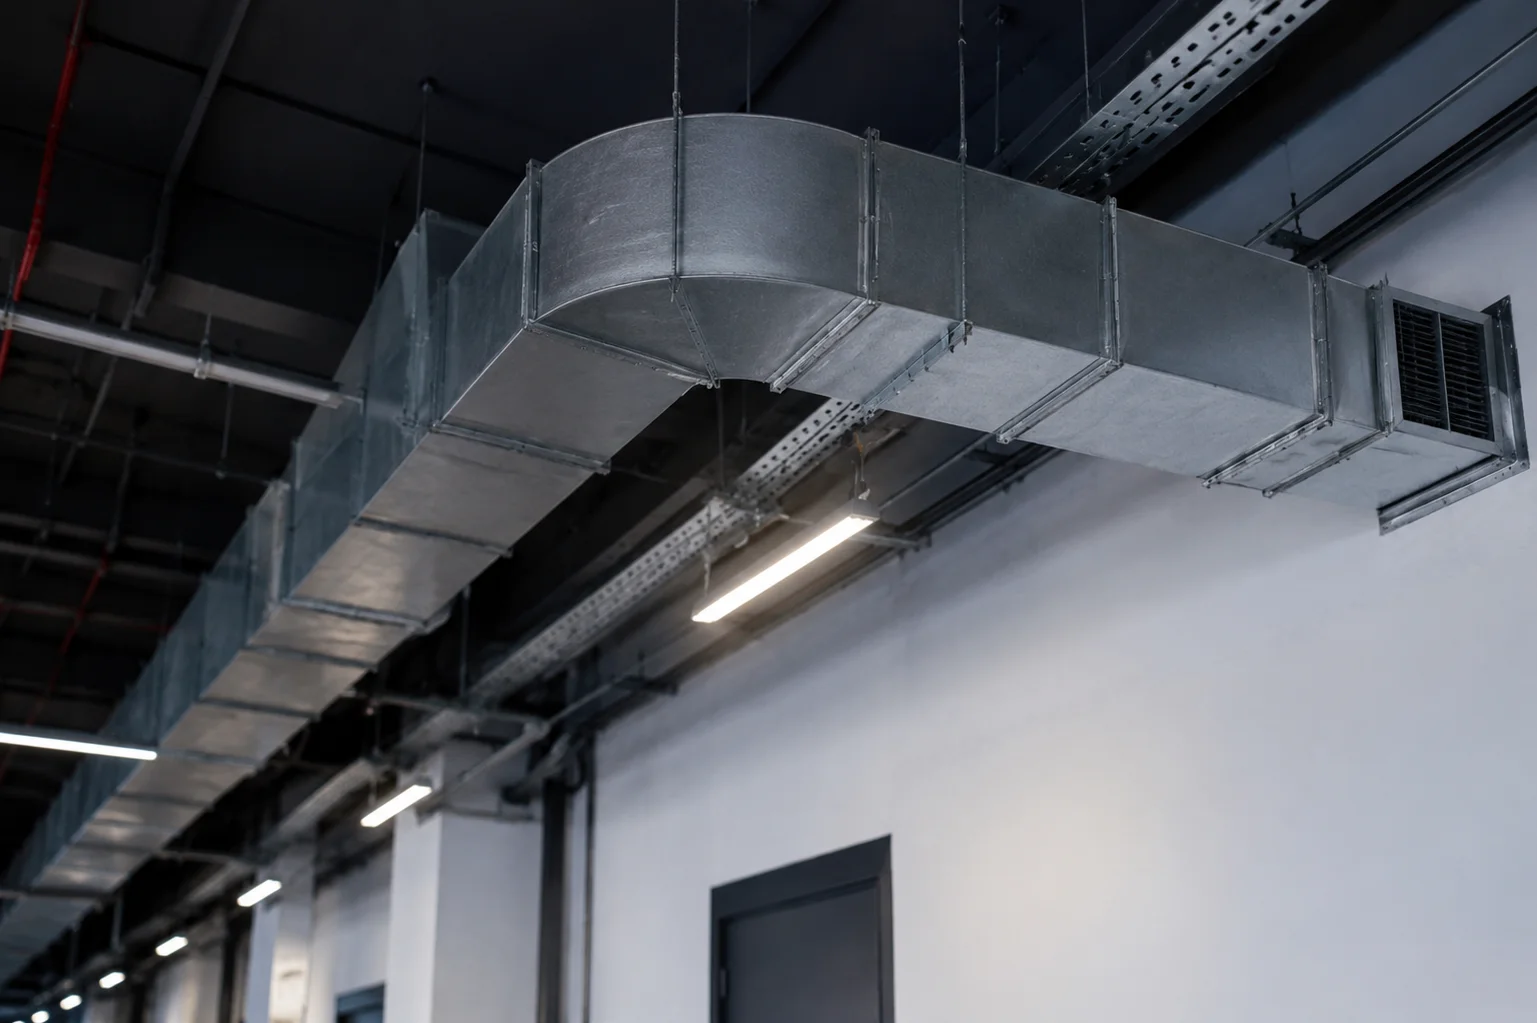
Why Duct Cleaning Is Often Necessary After Renovation
Construction dust doesn’t simply disappear.
A significant portion settles inside ductwork where it can remain for months or years. This is one of the most overlooked aspects of post-renovation cleanup.
The HVAC system blows air through the home. That can move debris around. It can make the air quality worse.
The National Air Duct Cleaners Association (NADCA), says that when people are doing remodeling projects in their homes they often call professionals to clean the air ducts.
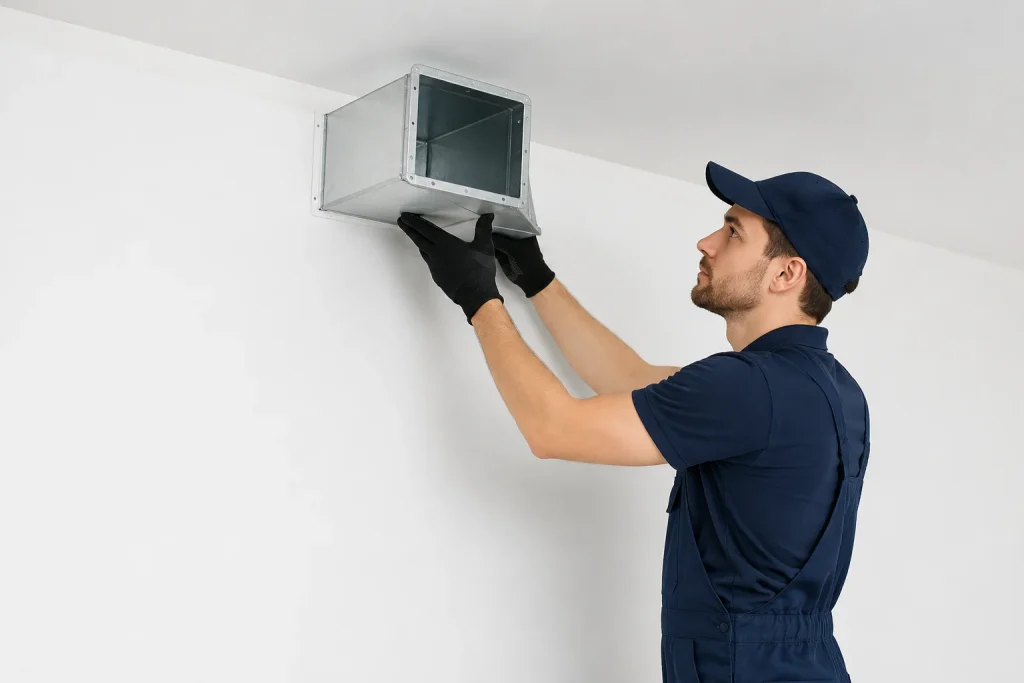
Even when vents were covered during construction, dust frequently enters through small openings and returns air systems.
Post-Renovation Duct Cleaning Checklist
1. Inspect Supply and Return Ducts
A professional inspection should evaluate:
- Supply ducts
- Return ducts
- Air handlers
- Blower components
- Coils
Dust accumulation in any of these areas can impact indoor air quality.
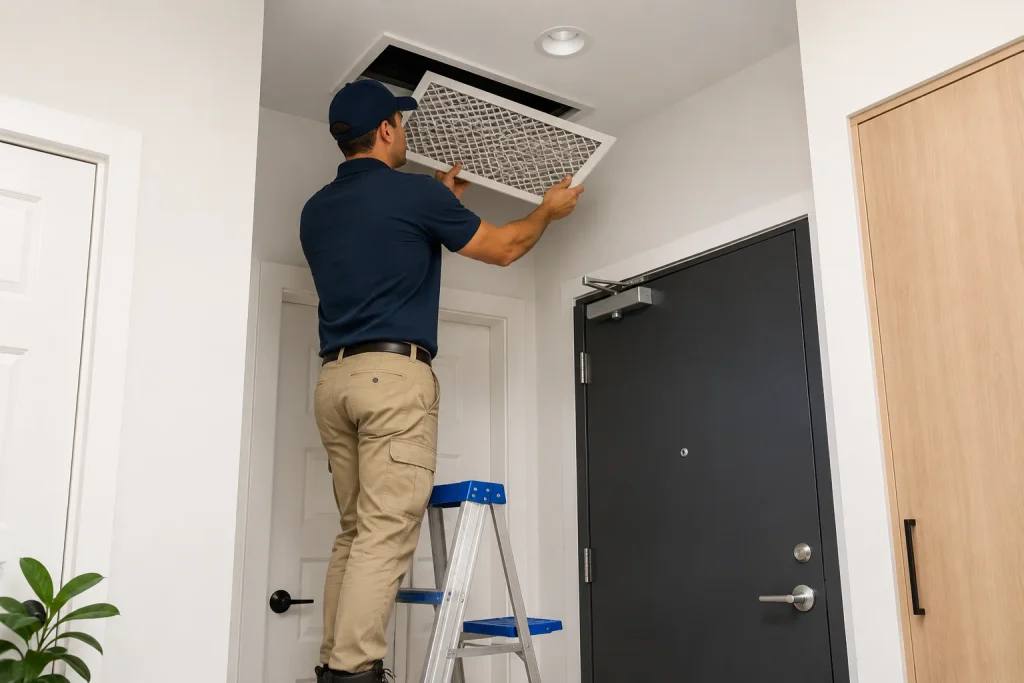
2. Replace HVAC Filters Immediately
One of the simplest yet most effective steps is replacing air filters.
During renovation, filters often capture substantial amounts of dust and debris.
Many HVAC professionals recommend replacing filters immediately after construction and again within 30 to 60 days.
3. Clean Air Registers and Grilles
Registers frequently collect visible dust.
Cleaning them prevents particles from re-entering living spaces.
Pay particular attention to vents located near renovation zones.
4. Remove Debris From Main Duct Lines
Professional duct cleaning equipment uses high-powered vacuums and agitation tools to remove:
- Drywall dust
- Sawdust
- Insulation particles
- Construction debris
This process helps reduce airborne contamination.
5. Clean HVAC Components
Ducts aren’t the only concern.
A complete cleaning may include:
- Evaporator coils
- Blower motors
- Drain pans
- Heat exchangers
Dirty HVAC components can reduce system efficiency and air quality.
6. Verify Airflow Performance
After cleaning technicians should make sure that air flows properly throughout the system.
Balanced airflow is good for comfort. It also helps to reduce energy costs.
7. Document Results
Request before-and-after photos when possible.
This is because the photos and other documentation are, like a record that shows the debris was actually removed.
How Long Should You Wait Before Testing Air Quality?
Timing matters.
Testing after contractors leave can catch temporary issues that get better on their own after a few days.
Indoor air quality specialists say wait a day after the house is completely clean. This means allowing around 48 to 72 hours after the post-renovation cleanup is finished.
This lets tiny particles that are floating in the air come down to the ground. It gives us a more real idea of what is happening right now with airborne particles.
However, if occupants experience respiratory symptoms or strong chemical odors, testing sooner may be justified.
DIY vs Professional Air Quality Testing
Consumer-grade air quality monitors have become increasingly popular.
They can provide useful information about:
- PM2.5 levels
- Humidity
- Temperature
- VOC trends
Professional assessments usually give more accurate results and they can test a lot more things.
Certified inspectors usually do tests in a lab. Use special tools to check for contaminants in the air that a monitor you have at home cannot find.
Preventing Future Air Quality Problems During Renovation
The best time to address air quality is before construction begins.
Contractors can reduce contamination by:
- Sealing HVAC vents
- Using HEPA-filtered vacuums
- Installing dust barriers
- Maintaining negative air pressure
- Performing daily cleanup
- Protecting return air systems
According to studies from the construction and restoration industry, containment measures can significantly reduce airborne dust migration into occupied areas.
Final Post-Renovation Air Quality and Duct Cleaning Checklist
Use this quick checklist after any remodeling project:
Air Quality Testing
✓ Inspect for visible dust
✓ Check indoor humidity levels
✓ Test particulate matter levels
✓ Evaluate VOC concentrations
✓ Inspect ventilation performance
✓ Conduct mold testing if water damage occurred
✓ Monitor occupant health symptoms
Duct Cleaning
✓ Inspect supply and return ducts
✓ Replace HVAC filters
✓ Clean registers and vents
✓ Remove construction debris from ductwork
✓ Clean HVAC components
✓ Verify airflow performance
✓ Keep documentation of completed work
Conclusion
A renovation can make a home look like new. The renovation is not really done until the air is clean and safe to breathe. The dust from construction and bad things like VOCs and debris that are hidden inside the ductwork can still be a problem for the air quality inside the home long after the contractors are gone.
A thorough post-renovation air quality along with cleaning the ducts helps find any remaining pollutants. This improves how well the heating and cooling system works. Makes the air inside the home healthier to breathe for everyone.
That’s exactly what Brye A+ Cleaning specializes in. From duct inspection to full air quality treatment, their team makes sure your renovation is truly finished not just on the surface, but in every breath you take.
FAQ’s
1. Is air quality testing necessary after every renovation?
Not always. Small cosmetic updates such as painting a single room may not require professional testing. However, larger projects involving drywall, flooring replacement, demolition, or extensive construction can significantly impact indoor air quality and may justify testing.
2. How soon should ducts be cleaned after a renovation?
Duct cleaning is typically most effective after all construction work and final cleaning are complete. Cleaning too early can allow additional dust and debris to enter the system before the project is finished.
3. What contaminants are commonly found after renovations?
Common post-renovation pollutants include drywall dust, wood dust, silica particles, VOCs from paints and adhesives, insulation fibers, and occasionally mold spores disturbed during demolition.
4. How can I tell if renovation dust is still circulating through my home?
Signs include dust reappearing shortly after cleaning, visible debris around air vents, increased allergy symptoms, and dust accumulation near HVAC registers when the system is running.
5. Can dirty ductwork affect HVAC efficiency?
Yes. Dust and debris inside ductwork and HVAC components can restrict airflow, forcing the system to work harder. This may reduce efficiency, increase energy costs, and contribute to uneven heating or cooling.
6. Are DIY air quality monitors accurate?
Many consumer air quality monitors can provide useful information about particulate matter, humidity, and VOC trends. However, professional testing generally offers more accurate results and can identify a wider range of indoor contaminants.
7. How often should HVAC filters be replaced after a renovation?
Most HVAC professionals recommend replacing the filter immediately after construction is complete and checking it again within 30 to 60 days, as renovation dust can clog filters more quickly than normal household use.