
Floor waxing has been a trusted maintenance method for decades, but many property owners still wonder, is it good to wax your floors? The answer is yes—when done correctly, waxing protects your floors from scratches, moisture, scuffs, and everyday wear. Wood floor waxing is a comprehensive cleaning process in which a layer of wax is spread over the surface of the wooden floor. This layer is a buffer, preventing the wood surface from getting scratched, stained, or even wiped. This provides the wood with a polished elegant shine.
The wax, in addition to enriching the texture of the grain, adds to the protection of the wood and even its moisture resistance. No matter how old or new a floor is, it will always require waxing, especially for properly cleaning and polishing the hardwood floor.
This guide will cover all the aspects from preparing to waxing and even the right way to care for your waxed hardwood floors.
What Is Hardwood Floor Wax?
Hardwood floor wax is a protective coating applied to wood flooring to enhance shine, prevent scratches, and guard against moisture and wear. Before waxing, it’s important to start with a truly clean surface—our thorough deep cleaning services strip away dirt and grime, ensuring the wax bonds evenly. Whether you prefer a satin finish or a high-gloss sheen, hardwood floor wax brings out the wood’s natural beauty while forming a durable barrier against daily foot traffic and spills. It’s especially ideal for solid or engineered hardwoods that need that extra layer of protection and long-lasting luster. Before deciding, ask experts can you wax hardwood floors safely based on your finish.
Why Waxing is Important for Hardwood Maintenance
When it comes to elevating the look of your space, nothing transforms dull surfaces like waxing the floors. Over time, hardwood floors can lose their shine due to foot traffic, furniture movement, and exposure to elements like water and sunlight. Waxing helps by:
- Protecting the surface: Wax stands as a protective layer that helps in preventing the accumulation of scratches, dents as well as scuff marks.
- Restoring shine: It restores the natural lustrous of the wooden surface and makes it polished again.
- Extending longevity: Waxing your hardwood floor can make it last longer because it reduces the chances of moisture damaging it
- Preserve natural grains: Waxing wood floors helps preserve the natural grain, increases resistance to stains, and adds a luxurious sheen to your space.
Preparing Your Hardwood Floors for Waxing
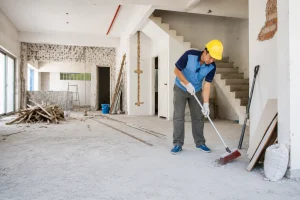
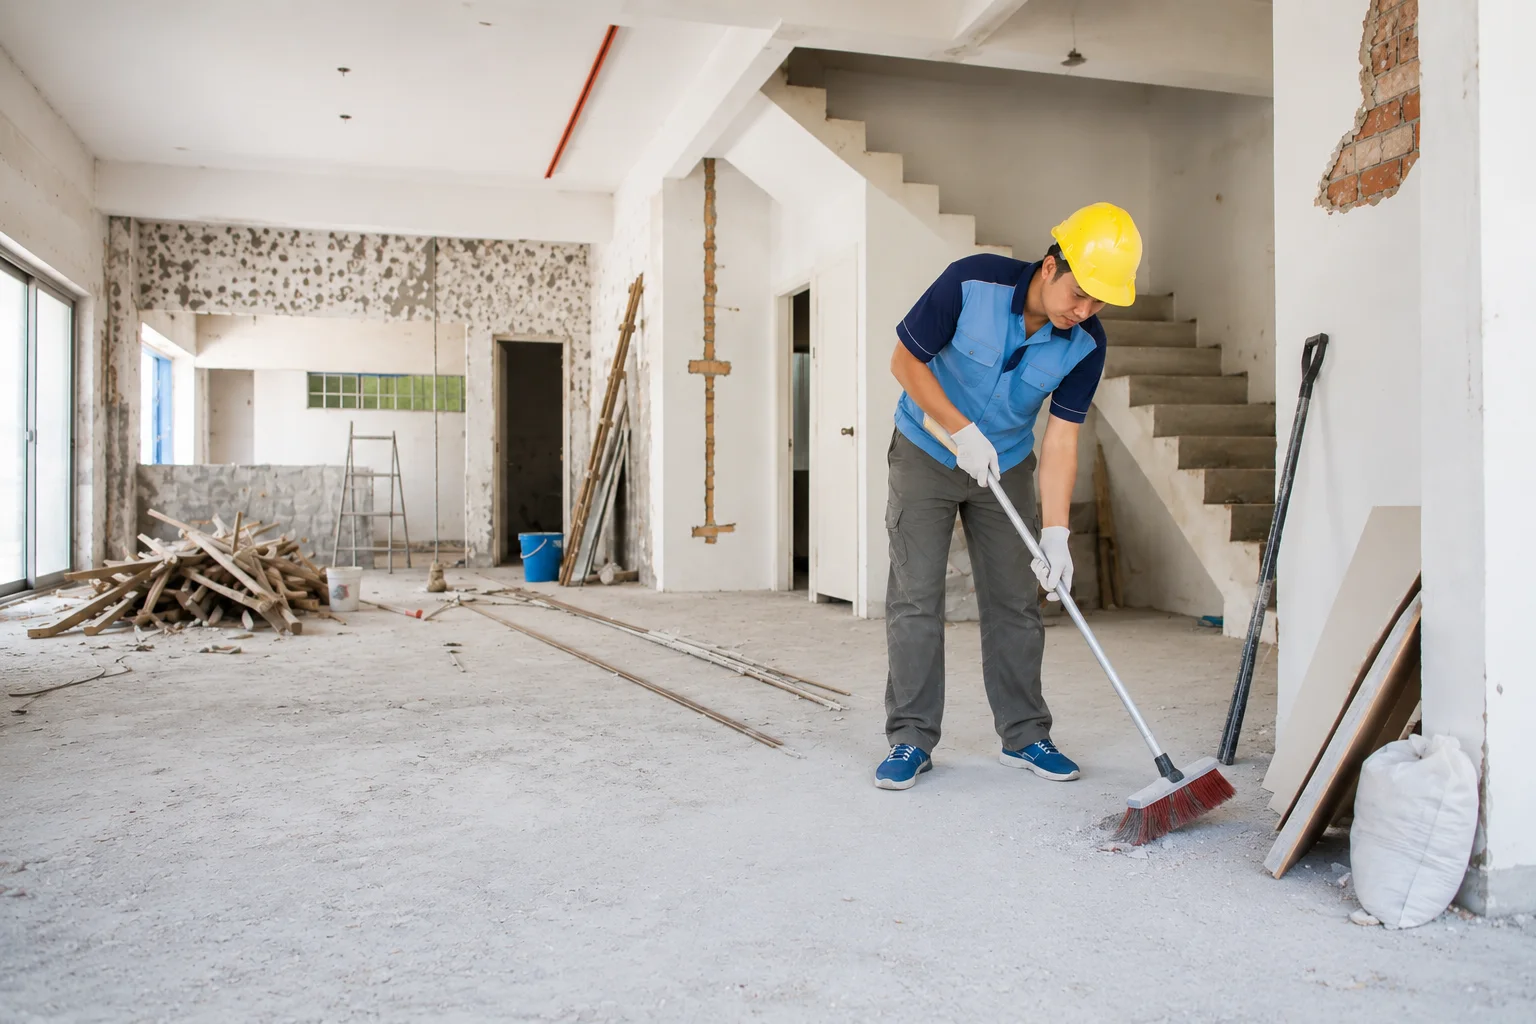
If you’re wondering how to wax hardwood floors, here is a step-by-step procedure. An ideal practice is to follow specific preparation processes before applying the wax. Skipping the preparation process might be dangerous because it may cause bloating, leaving dirt trapped beneath the wax.
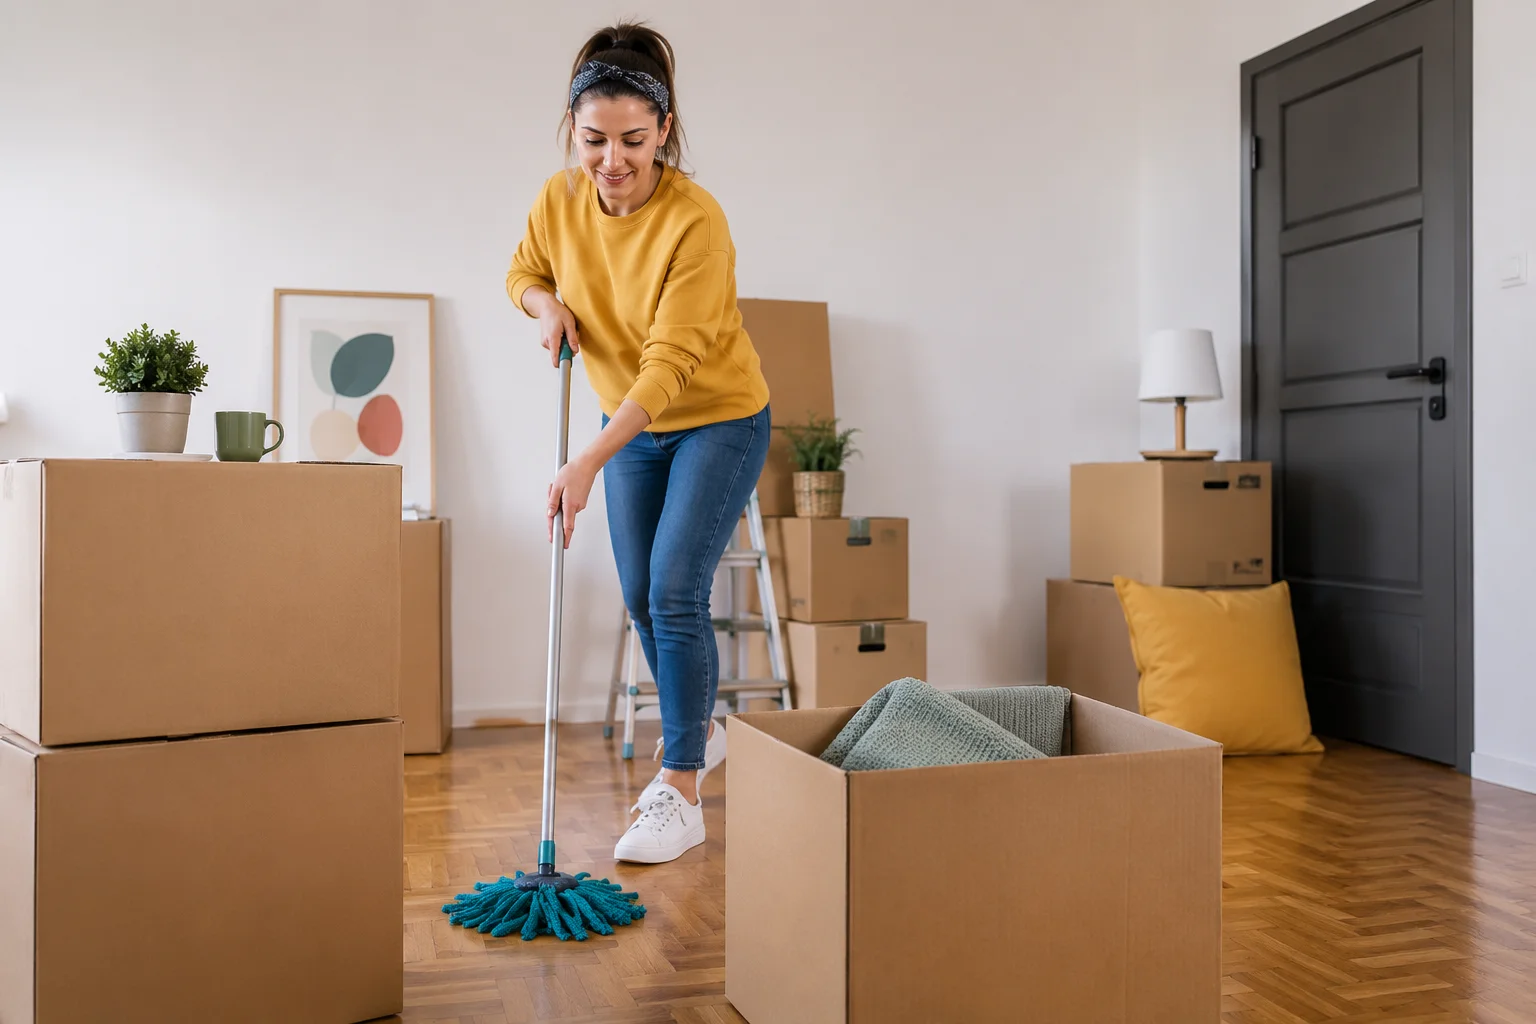
Step 1: Clear the Room
Before any deep floor-cleaning begins, you’ll want to completely clear the workspace:
- Remove all loose items.
Take down rugs, mats, and any throw carpets, and relocate small décor—vases, planters, pet beds—out of the area. If you need help getting rid of stubborn stains in upholstery before moving it back, our couch cleaning service in NYC can refresh your sofa first. - Shift larger furniture.
Whenever possible, slide sofas, dressers, and tables into an adjacent room. If you’re short on hands, our same‑day cleaning service in NYC team can lend a hand and even handle preliminary dusting as we go. - Protect and clear walls.
Take down pictures, wall hangings, and any mounted storage units so that baseboards and corners are fully accessible. If your windows or picture frames need an extra sparkle afterward, we offer comprehensive window cleaning services that leave glass streak‑free. - Check adjacent rooms.
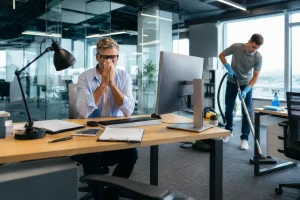
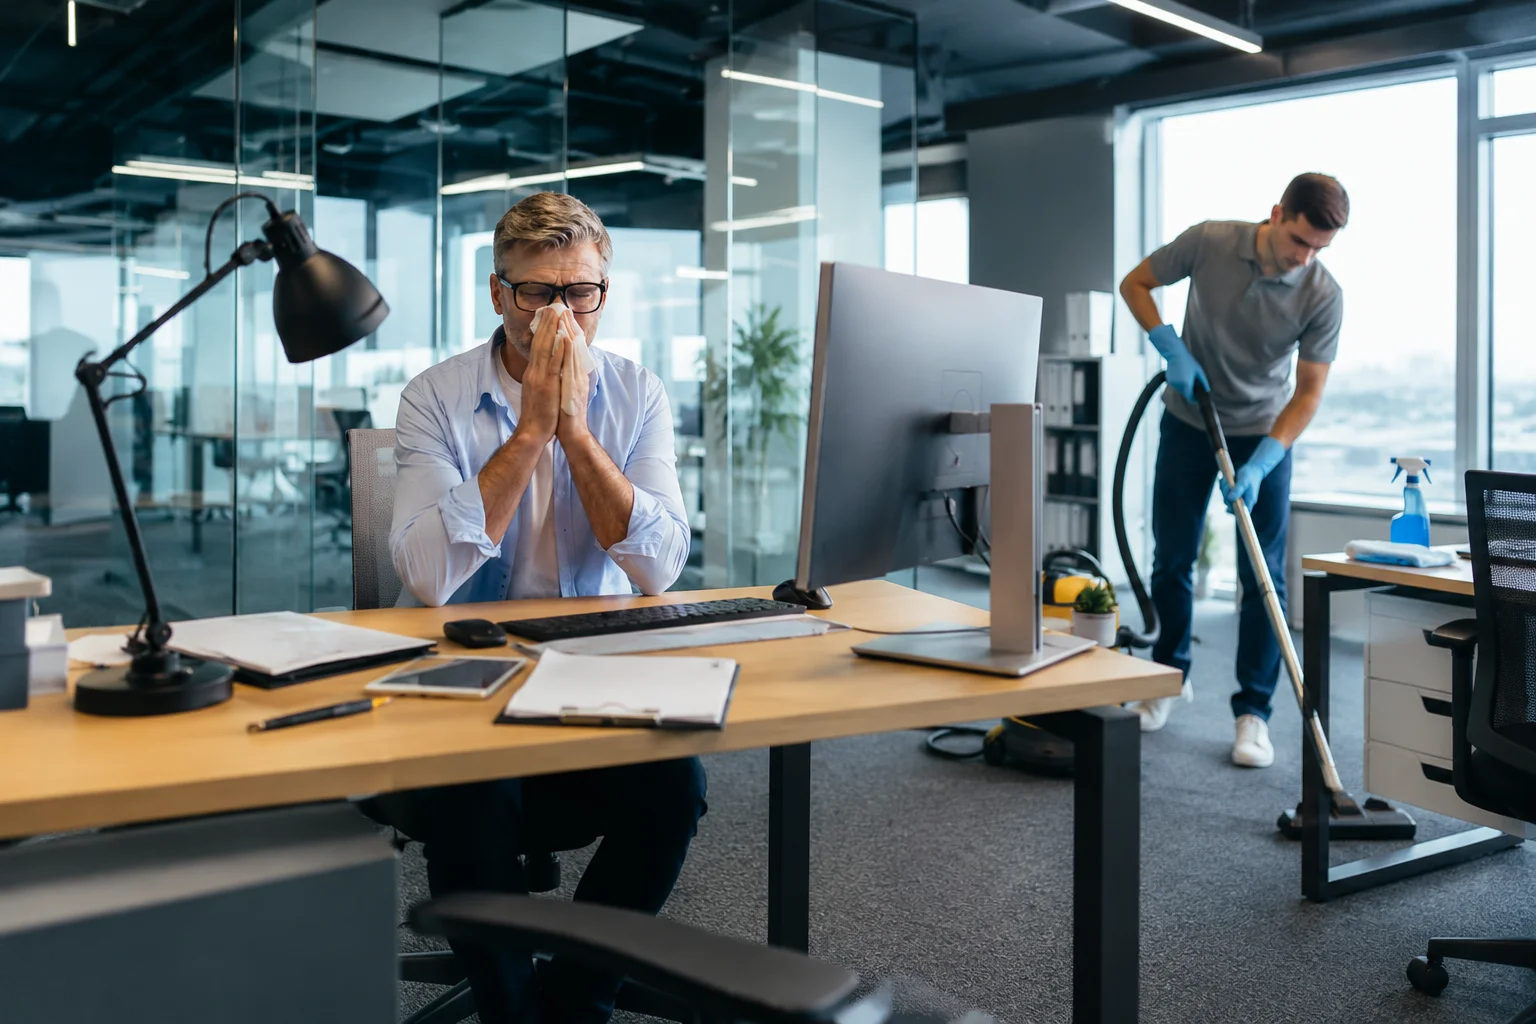
In a home or office, dragging heavy items across freshly cleaned floors can cause scuffs. Consider moving bulky electronics or cabinets into rooms where we’re not working. For commercial settings—like kitchens or bathrooms—our specialized commercial kitchen cleaning services and bathroom cleaning services ensure every surface is ready before anything goes back in place. - Embrace eco‑friendly prep.
If you’re sensitive to harsh chemicals or simply prefer a greener approach, ask about our green cleaning services in NYC—we’ll scrub, rinse, and rinse again without leaving behind toxic residues. - Plan for cost and timing.
Once the room is clear, we’ll get straight to the floor work. If you’re curious about budgetary considerations, check our breakdown on office cleaning cost to see how prep time factors into the final quote.
By following these steps—removing everything non‑floor, safely relocating heavy pieces, and scheduling any complementary services—you’ll set the stage for a flawless, long‑lasting floor clean that revitalizes your space from the ground up. Another reason why wax floors are used is to make cleaning easier.
Step 2: Clean the Floor Thoroughly
Begin by sweeping the floor or vacuuming it to ensure that any debris such as dirt is gotten rid of. This step is very important because any particles remaining on the surface will be embedded in the wax and thus scratch the floor. After that, clean the floor with a detergent that is meant for hardwood floors or a mixture of warm water and a bit of soap.
Proper waxed floors cleaning keeps surfaces glossy and protected.
Step 3: Determine the Type of Wax to Use
There are two main types of wax available for hardwood floors: solid wax and liquid wax.
- Solid Wax: It provides a thicker, more durable finish but requires more effort to apply.
- Liquid Wax: Easier to apply, liquid wax is great for quick jobs and can be buffed to a high shine with less effort.
Tools and Materials Needed for Waxing Hardwood Floors
The best way to wax hardwood floors includes using high-quality tools and products. Ensure a smooth and effective waxing process by gathering the following tools and materials:
- Soft, lint-free cloths or mop: Apply the wax evenly across the surface.
- Wax applicator: You can use sponges, brushes, or wax-specific applicators to spread the wax.
- Solid or liquid wax: Based on your floor type and preference, have the appropriate wax ready.
- Buffing machine (optional): While not required, a buffing machine can make polishing the floor much faster and give you professional-level results.
- Protective gear: Gloves to protect your hands, knee pads if you’ll be on your knees, and a face mask to avoid inhaling dust or chemicals.
Step-by-Step Guide to Waxing Hardwood Floors
Many homeowners ask, can you wax hardwood floors? Yes, traditional, unfinished, and properly sealed hardwood floors can benefit greatly from waxing. However, it’s critical to avoid waxing polyurethane-coated flooring, as wax can interfere with future refinishing.
Step 1: Test a Small Area First
When using wax on the floor, it is advisable to use a small area of the floor like the corner beneath furniture, or on a closet before proceeding to wax the entire floor. This will assist you on how the wax moves on the floor and I am confident that will satisfy you with the results. Some wax may get the timber a little lighter or change its sheen hence the need to test the wax on a hidden area of the wood.
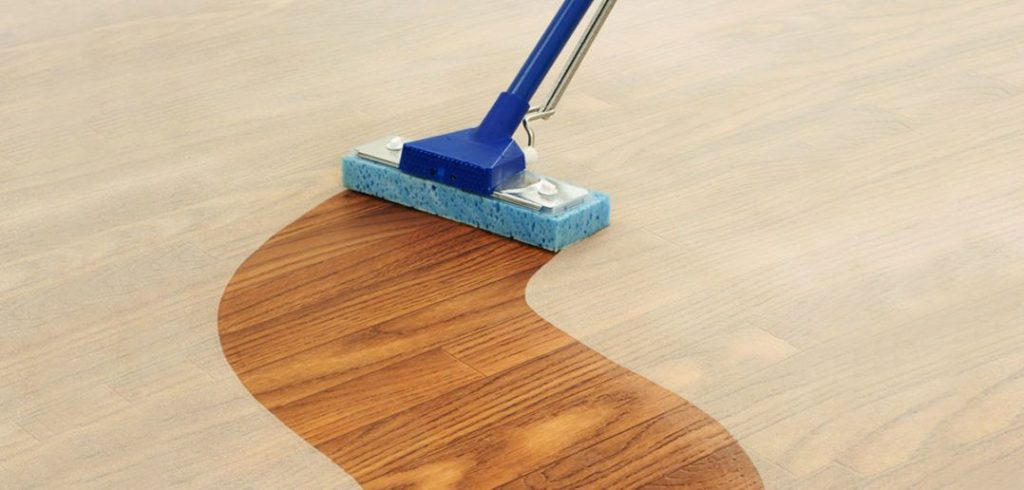
Step 2: Applying the Wax
Whether you’re using solid or liquid wax, the key is to apply it thinly and evenly:
- Solid Wax: Scoop a small amount of wax onto a cloth or wax applicator and rub it into the floor using circular motions. Work in small sections to ensure even coverage.
- Liquid Wax: Pour the wax directly onto the floor and spread it with a mop or applicator. Ensure that the coat is thin and uniform. Avoid applying too much wax at once, as it can leave the floor looking cloudy or sticky.
Step 3: Letting the Wax Dry
Drying times vary depending on the type of wax used. Solid wax typically takes longer to dry, requiring a few hours, while liquid wax dries more quickly. Wait until the wax is completely dry before proceeding to the buffing step. You’ll know the wax is ready when it no longer feels tacky to the touch.
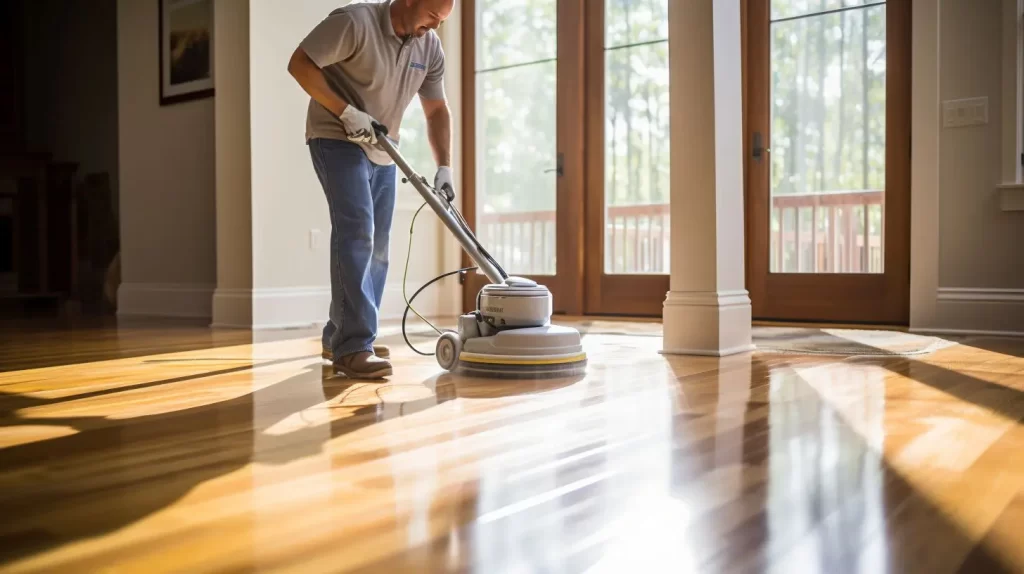
Step 4: Buffing the Floor for a Polished Look
Once the wax has dried, it’s time to buff the floor to bring out the shine. You can do this by hand using a soft, lint-free cloth, or for larger areas, use a buffing machine. Buffing helps smooth out any uneven patches of wax and enhances the floor’s sheen. For best results, buff in a circular motion, covering all areas of the floor.
Aftercare and Maintenance Tips for Waxed Floors
The question is it good to wax your floors often comes up when floors start to look dull or scratched. Cleaning waxed floors requires a gentle touch to maintain their shine and prevent dulling. Proper aftercare is crucial to maintaining the appearance and longevity of your waxed floors. Here are some tips to keep them looking their best:
Routine Cleaning
To clean waxed floors, avoid using water-based cleaners or harsh chemicals, as they can damage the wax. Instead, use a soft broom or vacuum with a hardwood attachment to remove dust and debris. For occasional cleaning, a dry or slightly damp mop can be used, but never oversaturate the floor.
Reapplying Wax
Wax doesn’t last forever and will eventually wear down over time. Depending on the amount of traffic in the room, you may need to reapply wax every 6 to 12 months. Signs that it’s time to reapply include dullness, scuff marks, or areas where the wax appears worn or uneven.
Avoiding Common Waxing Mistakes
- Applying too much wax: This can lead to a sticky, cloudy finish that’s difficult to buff.
- Skipping cleaning before waxing: Waxing over dust or dirt will trap these particles in the wax, leading to scratches.
How to Wax Hardwood Floors Naturally Using Safe Ingredients
If you prefer eco-friendly options, you might wonder how to wax hardwood floors naturally. Natural waxes like beeswax or carnauba wax are excellent non-toxic alternatives. Mix them with coconut oil or olive oil for an all-natural polish. Apply with a cloth, let sit for 30 minutes, then buff to a shine. This method is perfect for homes with kids or pets, and it avoids harsh chemicals.
Conclusion
Waxing hardwood floors is one of the best ways to protect and enhance their natural beauty. Follow these steps and maintain the wax finish to keep your floors looking polished for years to come. No matter if you choose to tackle this as a DIY project or hire a professional, the effort you put into waxing your floors will pay off in their long-term beauty and durability.
Now that you’re equipped with the knowledge on how to wax your hardwood floors, why not give it a try? Remember to test a small area first, apply the wax evenly, and enjoy the lasting shine and protection that wax provides!
FAQs
Should you wax a hardwood floor?
Yes, waxing hardwood floors can protect them from scratches and stains while enhancing their shine. It’s especially beneficial for older floors or those with a natural finish.
How do you prepare wood floors for waxing?
Clear the room of furniture, thoroughly clean the floor to remove dust and dirt, and ensure the floor is completely dry before applying wax.
How do you shine hardwood floors?
After applying wax, buff the floor with a soft cloth or a buffing machine to achieve a high shine. Regularly dust and clean the floor to maintain its luster.
How long does wax last on wood floors?
Wax typically lasts between 6 to 12 months, depending on foot traffic and maintenance. Reapply as needed when the floor begins to look dull or worn.
How to wax wooden floor?
First, ensure the floor is clean and dry. Then apply the wax using a soft cloth or buffer in circular motions. Let it dry as recommended before buffing. Always test in a small area first to check compatibility, especially if you’re working with older or exotic wood types.